How it starts, and what you get
The Tale-Telling Heart is a World Quest from Version 6.0 (Luna I). It belongs to the World Quest Series East of the Moon, West of the Sun. The series' four quests, The Shoemaker's Children Go Barefoot, The Tale-Telling Heart, Whisper Beneath the Waves, and Return to Sender, "can be completed in any order," after which The Raven's Legacy starts automatically. [2] This one begins when the Traveler approaches the campfire at Blue Amber Lake on Lempo Isle, where Tolfin is finishing a story for Danyusha and Zhorik Shesternin.
Completing it awards 2 Precious Chests, 3 Exquisite Chests, and 1 Common Chest, the achievement When the Aurora Shines, and the Viewpoint Iron Whale's Dream, along with the quest items Stratagema-Cognoscenti's Mask and Photo with Colonel Iron Whale. [1]
The campfire
Tolfin introduces himself: "I deal in little odds and ends and tell a few stories." The Shesternins are "on their way back to Novokitezhgrad from Nasha Town," and Danyusha apologises for Zhorik, who has been out of sorts "since we left Novokitezhgrad." Tolfin brings up Reed Miller's Great Treasure, whose secret "lies within the five Proofs of the Cognoscenti." He has seen one himself, a friend of his found another, and that friend built the very spot they are resting at. Zhorik asks, "...Are you talking about Papa Wrench?"
Tolfin explains that Papa Wrench lost his memory in "that shipwreck from many years ago," which Tolfin believes he survived. Danyusha says Zhorik survived it too, "but my father wasn't as lucky," and adds that if her father were still alive, "he wouldn't sit and let this happen..." Zhorik asks the adventurers to find the Great Treasure for them and bristles at talk of payment: "It all comes down to money in the end."
Tolfin says Papa Wrench was the opposite. Travelling with a caravan whose leader looked after him, he "only charged nominal fees" for making and repairing machines, sometimes worked for free, taught machinery to anyone who asked, and handed out candy with his stories. He built every device around the lake for Tinet, a child whose illness made her "eccentric and hard to get along with." She did not survive, and Papa Wrench then "passed away from his chronic illness and overwhelming grief." Papa Wrench had left Tolfin all his belongings to handle as he saw fit, so Tolfin offers the Proof to the adventurers in exchange for a good story. Papa Wrench's plan for Tinet was that "she'd have to collect lots of Stellafruit, deliver them to Sergeant Octopus, and pass the trial to awaken Colonel Iron Whale," with the Proof as her reward. [1]
Once the others leave, Danyusha presses Zhorik: "don't you think this is an opportunity?" A Proof, she says, might "buy ourselves some time to turn things around."
Sergeant Octopus and Colonel Iron Whale
Stellafruit "only grow near Blue Amber Lake." Sergeant Octopus commands two areas, and each takes 12 Stellafruit before it reveals its trial. One trial uses thrown objects and the other special jumping attacks, both to destroy bulging Stellafruit. Meanwhile Danyusha says she "left something important in Nasha Town" and leaves, and Zhorik climbs onto Colonel Iron Whale "to watch your treasure hunt from the place with the best view."
With both trials passed, the Colonel stirs, but the device that wakes it is missing parts. Zhorik suggests, "Why don't we just take it apart, then? It's little more than a pile of scrap anyway." Paimon objects, and Tolfin says he "might have some leads" on spare parts. Zhorik, who calls himself a collector, refuses to "play along with your childish games," so Tolfin makes it a race: "Let's see who can locate the treasure first."
Papa Wrench's workshop
A weasel thief has stolen the lever of the lift down to Papa Wrench's workshop. Tolfin sends his own weasel thief, Huginn, after it, the party fights off a band of Treasure Hoarders, and Huginn catches the thief. An "Opened Secret Letter" nearby, telling a partner that "The intel's solid" and "It's at Blue Amber Lake," suggests others were after the treasure too. Below ground, Papa Wrench's notes fill in his story. [10]
- Notes (III): Tinet "has grown so ill that she can no longer travel with the caravan," so they camp at Blue Amber Lake. "Here lies an underground warehouse left by Archon-knows-who, one that contains quite a few so-called 'legacies of the golden age,'" which he turned into a workshop with help from the caravan leader Danil and the others.
- Notes (I), optional: his travels with Danil's caravan. On Hiisi Island, the Frostmoon Scions "reject the use of kuuvahki devices," but a girl of about ten secretly asks him for lessons. In Nasha Town, Demyan, "in sole charge of The Flagship," finds him lodgings, and Katya, "the Speranza's boss," gives him room to teach a girl named Aino "the art of communicating with machines." Aino's Character Story 3 tells the same class from her side. [11]
- Notes (II): a merchant from Novokitezhgrad shows him a newspaper with a face whose "hair not yet stained by hoarfrost and a carefree smile" was his own, "ten or more years ago," above his obituary. "But Old Shesternin was the one who owned all this, and he is 'dead.' Danyusha has inherited his family name and possessions, as has Zhorik."
Of the shipwreck, he writes:
Ten years on, I still know not which hands those were that pushed me off the side of the ship... It was all too sudden. Surely Zhorik simply could not react in time, and the incident that occurred aboard the "Fortunate One" was but a tragic accident... Surely...
He writes to Danyusha as "my child," regretting that "I caused you to lose a father also," and decides that "a visit from a 'dead man' uninvited will not find any welcome."
Paimon asks, "Is Danyusha Papa Wrench's daughter, then?" and Tolfin drops the act. He was there the day Papa Wrench saw the obituary, but his friend "kept insisting that he couldn't remember the details from ten years ago." In Tolfin's words, "Always assuming the best of others... That's just the way he was." After Papa Wrench died, Tolfin heard that the Shesternins "had exhausted their wealth over the last ten years and had landed in serious debt," so he "sent a messenger to tell a story" that a Proof was at Blue Amber Lake. [1]
Technically, it is Papa Wrench... Mr. Shesternin Sr.'s inheritance. As his legal heir, Zhorik has the right to it. I'm not as charitable as ol' Papa, but I wanted to give Zhorik a chance to prove himself. And that's how the treasure hunt came to be.
He asks the Traveler to keep competing, "finders keepers," and to pretend they have heard nothing. Along the way they also calm an out-of-control Sergeant Octopus that Tolfin thinks is "not used to the environment," find the spare parts, and follow Huginn out after a cave-in.
The aurora
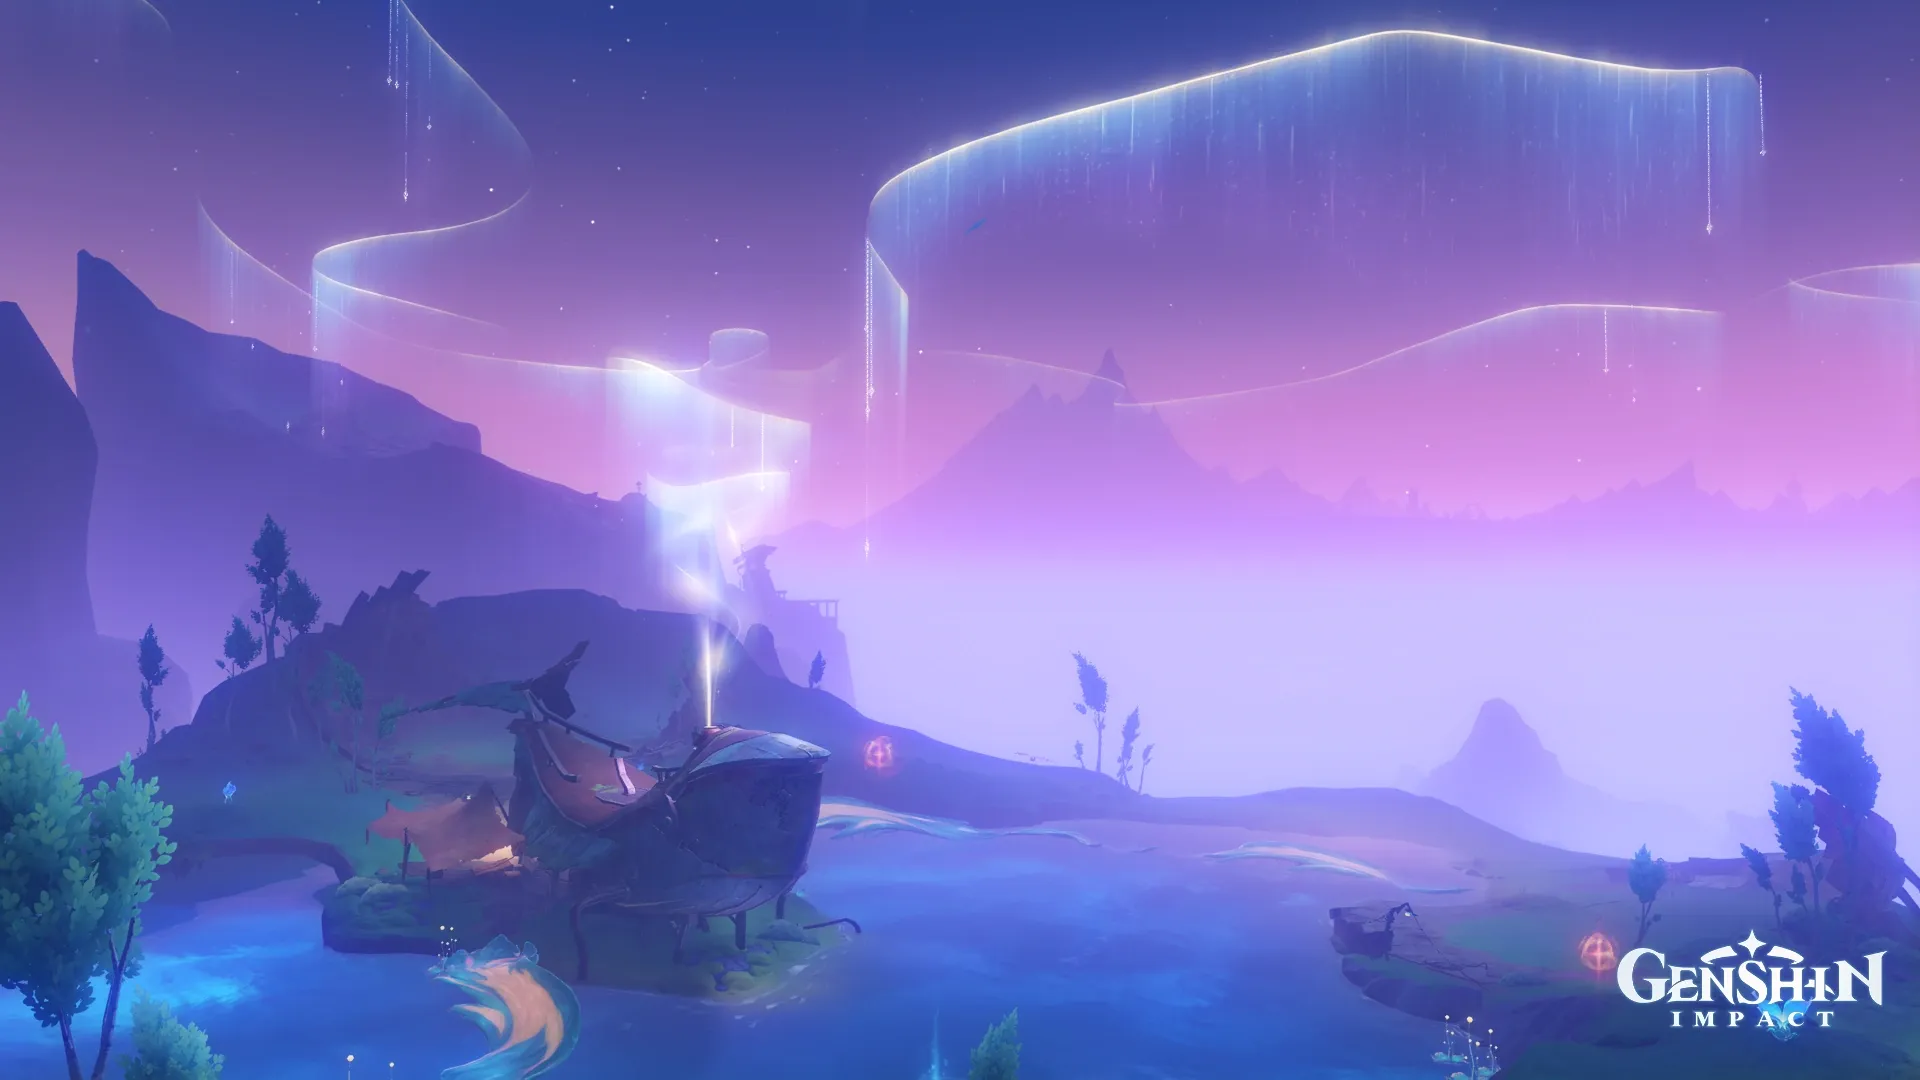
Back at the surface, Zhorik warns that the old device might malfunction, and Tolfin answers, "Mr. Shesternin, are you worried that such a malfunction might hurt one of us? How thoughtful." Installing the spare parts sets the iron orb spinning, and an aurora spreads across the sky. Tolfin: "This must've been the gift that Papa Wrench wanted to give to Tinet..."
Notes (IV) explains the gift. Tolfin used to tell Tinet about the aurora seen "even in the northernmost reaches of the northernmost of nations." She sighed that with more strength she might have gone "to that northernmost of nations" to see it, and Papa Wrench promised, "I will bring you those satins, such that you can see them." [10] Riding the "Aurora" Moonlanes, the Traveler collects shiny fragments that "look like pictures," but no Proof.
Zhorik's flight
Zhorik gloats over a "pristine and opulent goblet" he took from Papa Wrench's collection. Tolfin agrees that one of the five Proofs is a goblet, but says that one is in the Fatui's possession. If The Shoemaker's Children Go Barefoot is already complete, he adds "or was, before someone stole it from them," and the Traveler can point out it is "right here in my backpack." Papa Wrench's Proof "was a mask, and he would often let the children play with it." The goblet is "a gift the caravan leader brought from Snezhnograd." [1]
The Traveler shows Zhorik the picture. "...What is this trickery!? Who commissioned you to do this? Was it that old man? Is he still alive? Where is he!?" Paimon begins, "Wait, so the one who pushed Papa Wrench off the ship was...," but Zhorik cuts in: "Drop the act. You're all working for that old man, aren't you?" He decides Danyusha "knew this was a trap all along," swears none of them will get him, and runs, leaving the goblet behind. Tolfin lets him go:
The path he took looks most dangerous. I would not be surprised if something happens to him. ... If he had proven himself a changed man, even just a little, then I would have forgiven him, per Papa Wrench's wishes. Alas, like many others, he too is a prisoner to his baser instincts.
He also notes that "Papa Wrench has many other friends aside from me." Then he hands over the real Proof, a mask Zhorik had found first and "tossed... aside" for the flashier goblet. The Traveler receives Stratagema-Cognoscenti's Mask and Photo with Colonel Iron Whale.
After the quest, Tolfin shares what he knows: "Allegedly, there are five Proofs of the Cognoscenti in total. Besides the one Papa Wrench had, there are two more on the three southern islands. The remaining two are further north. You might find more clues about them in Piramida." He calls his knack with weasel thieves "a family tradition."
What the quest establishes
- Papa Wrench was Old Shesternin, Danyusha's father, believed dead after the Fortunate One incident about ten years earlier. His own notes are the source, Tolfin calls him "Mr. Shesternin Sr.," and Zhorik is his "legal heir."
- Tolfin staged the treasure hunt to give Zhorik "a chance to prove himself," and Zhorik failed it.
- Stratagema-Cognoscenti's Mask is the Circlet among the five Proofs, described as "A cold mask that once concealed a true face" and "said to be a keepsake from Reed Miller, the founder of the Treasure Hoarders." [6] [4]
- Papa Wrench's workshop sits in "an underground warehouse left by Archon-knows-who."
- Papa Wrench taught Aino at the Speranza in Nasha Town, as both Notes (I) and Aino's Character Story 3 record.
What it leaves open
- Who pushed Papa Wrench. The quest implies Zhorik through Papa Wrench's hedged note, Paimon's unfinished sentence, and Zhorik's panic, but no line confirms it. Fandom's Proof of the Cognoscenti page states it outright, describing Zhorik as the one "who obtained the Shesternin wealth for himself by pushing Papa Wrench overboard." That is Fandom's reading, not a line in this quest. [4]
- Danyusha's part. Zhorik accuses her of setting a trap, and she did leave early for Nasha Town, but the quest never confirms what she knew.
- The warehouse. Who built it, and what its "legacies of the golden age" are, goes unsaid.
- Tolfin's family. His "family tradition" line is all this quest gives. Fandom's Tolfin page, drawing on The Raven's Legacy, names him as the grandson of the Treasure Hoarder Hiljetta. [3]
Reading on
The rest of the series, including the other three Proofs' quests and The Raven's Legacy, is on the parent page, East of the Moon, West of the Sun. For Aino and her lessons with Papa Wrench, see Aino. The Lempo Isle and Blue Amber Lake geography is in Nod-Krai, and the Frostmoon Scions' refusal of kuuvahki devices connects to Kuuvahki.